Last Tuesday we kicked off our 2021-2022 school year. It was so much fun to see so many smiling faces on the first day. Throughout the week several classes came through and toured the media center. This week we are excited to begin having classes.
We will spend the first part of the week reviewing library rules and expectation and then at the end of the week classes will begin checking out books. I'm also planning to begin featuring a read aloud each week for every class after everyone has a book checked out. I'm hoping this will help get students excited about specific book series and our Battle of the Books & William Allen White Reading Lists.
This template, along with others, is available {here} in my TpT store.
Our library squad is so excited to begin seeing kiddos!
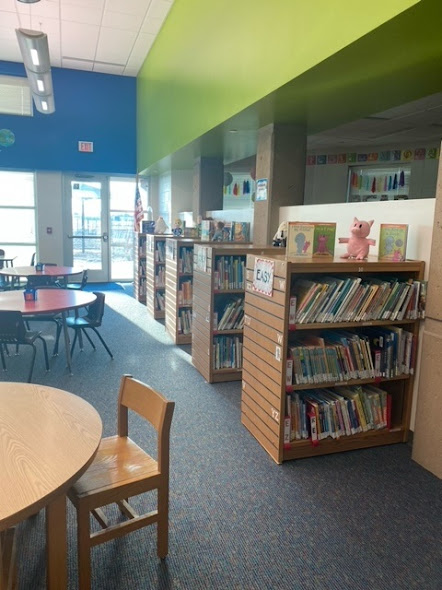
Here's a little {sneak} peek at our fun space . . .
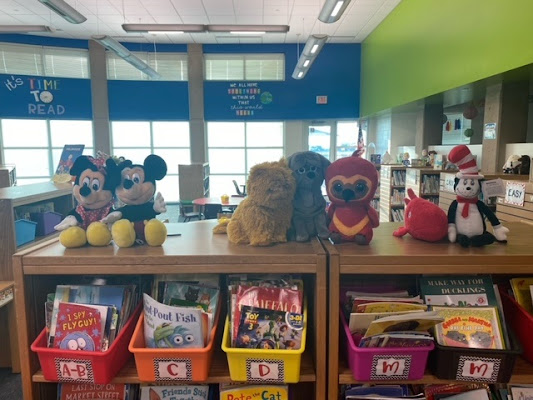
The graphic novel section (which is pictured above) is definitely the most popular area in our library. Students in grades 2-4 are allowed to have two books checked out. We had to limit it to only one graphic novel at a time. It's safe to say that our graphic novel section won't look like this again until the end of the year.
This section of the library is mostly used by our KDG & 1st Grade Students.


It's so exciting to have all of our stuffed book characters on display this year. If you haven't checked out the books and plush animals at Kohl's you are missing out.
Click {here} to see what is available at a Kohl's store near you.
I really wanted to have some shelves this year up by my teaching area to feature books I love. So, I got the idea to create shelves using a picture. Believe it or not, these are not REAL wooden shelves. They are just pictures that I blew up and printed/laminated. They are definitely super deceiving to the eye.
If you are interested in making a set of shelves just like these . . . here is the trick!
Open a Publisher Document.
Go to Page Design and select Size.
Then scroll to the bottom and choose Create New Page Size.
Here you can adjust the width and the height of the pages.
It's best to keep the height at 8.5" if you are creating a landscape design like I did.
This is the same dimension as a standard piece of paper.
I however increased the length to 39".
After you insert your picture and get it sized correctly choose Print.
As you can see this will take 4 sheets of paper.
After you have assembled the 4 pages put it through your laminator and cut it out.
Pretty easy . . . huh?!?!
The possibilities are endless when you know this little trick.
I hope all of you have a great start to your year!!!
If you have a bulletin board design you are proud of please post it in the comments.


No comments:
Post a Comment